After a few weeks of extensive working, today we’re thrilled to announce you that FrE Braintree is officially released. We decide to conduct this extension with the aim of providing you and your users more choices when checkout besides current payment gateways on FreelanceEngine site.
Braintree is currently available to merchants in 44 countries around the world and supports 130+ currencies. No matter where your users are located, they can easily check out since Braintree supports multiple payment methods, including almost all major credit and debit cards as well as PayPal account.
It’s quite easy to set up and use Braintree as a payment gateway on your site. If you are located in the list of countries that Braintree currently serves, you only need to have a merchant account and your site is running FreelanceEngine theme. That’s enough!!
In order to understand the flow as well as setting process, please follow the detailed guide below:
Back-end settings
1. From your Dashboard, go to Plugins → Add New to add FrE Braintree plugin.
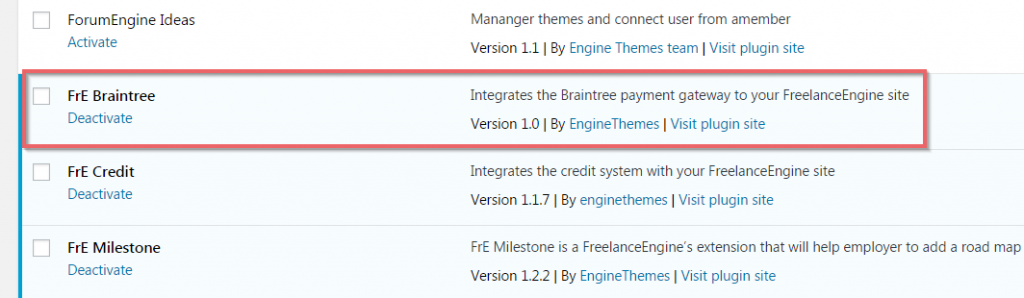
2. Activate FrE Braintree as the image below:
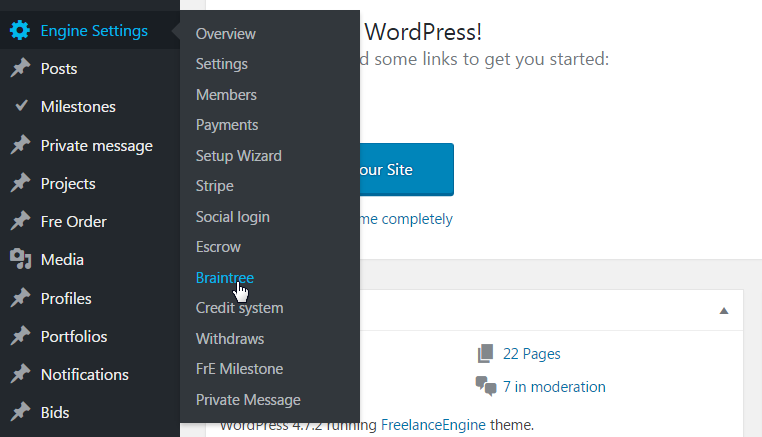
3. Go to Engine Settings → Braintree to set up Braintree API
How to get API credentials
Regardless of how you connect your website or mobile app to Braintree, at minimum you will be required to provide these four values in order to process payments via the API, including Merchant Account ID, Merchant ID, Public Key, and Private Key.
You can locate these values by following these steps:
- Log in to either the production Control Panel or the sandbox Control Panel, depending on which environment you are working in.
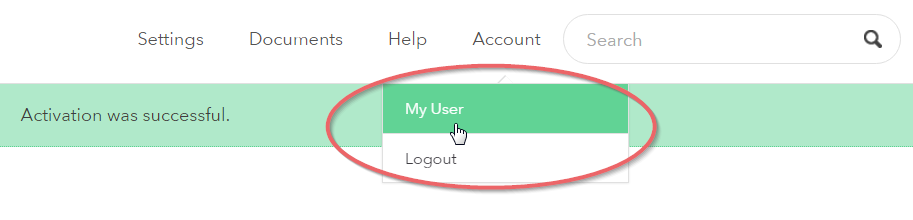
- Navigate to Account → My user.
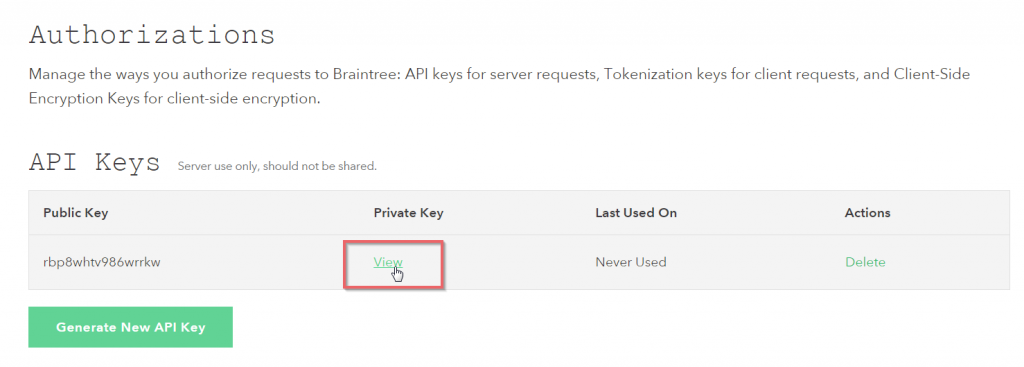
- Under API Keys, Tokenization Keys, Encryption Keys, click View Authorizations.
***Note*** If no API keys appear, please click Generate New API Key.
- Click View under the Private Key column to see your public and private keys, merchant ID, and environment.
- Copy these values from the Client Library Key and fill in the Braintree API section.
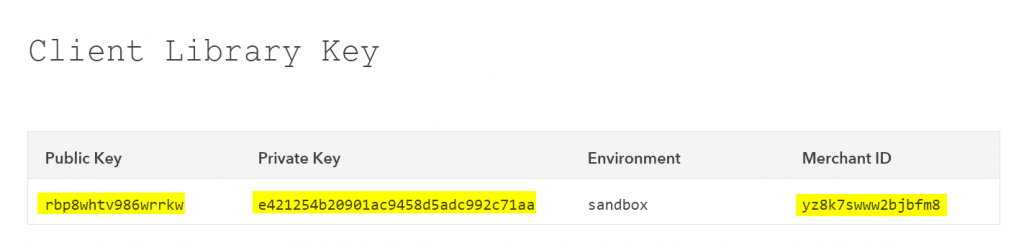
Copy values in the client library key
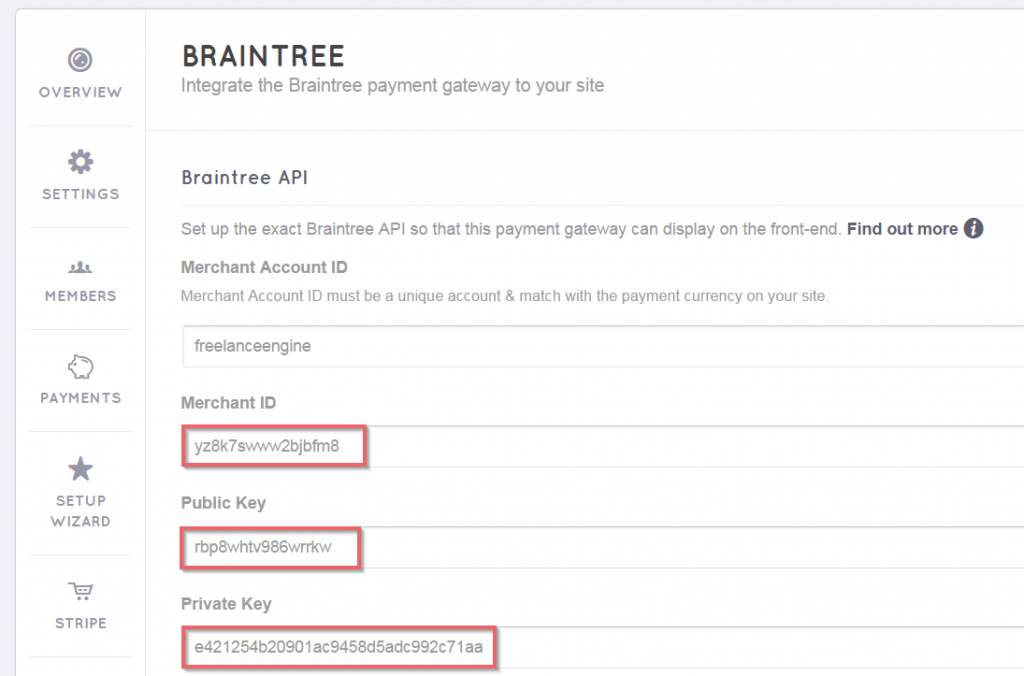
Paste these values into the Braintree API
That’s finished.
Front-end display
In FreelanceEngine, users can check out via Braintree when they purchase credits, package to submit project(s) or upgrade account.
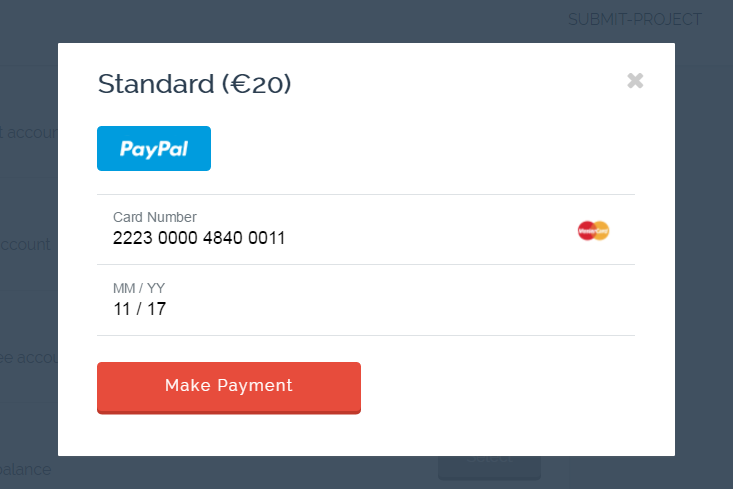
When it comes to payment method selecting step, choose Braintree and fill in required information to complete the payment process.

Enter your card number and expiration date, or check out via PayPal gateway. Then, click “Make Payment” button to proceed the transaction.
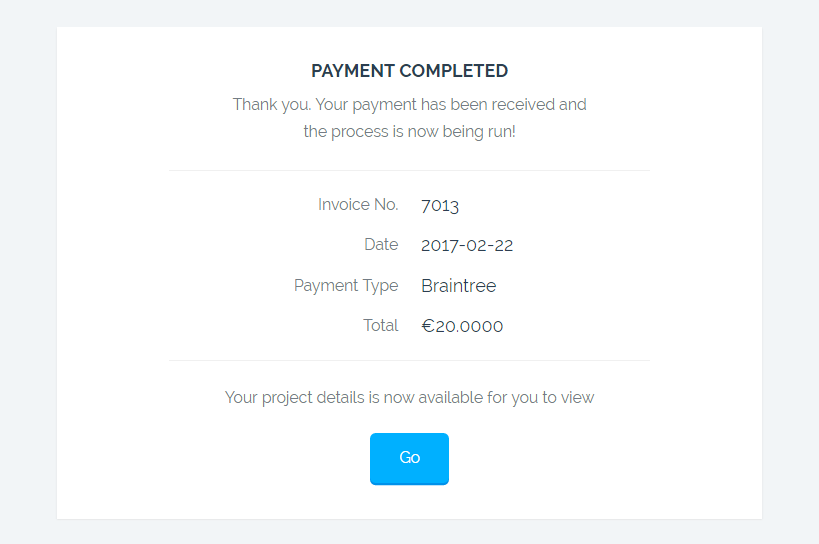
Once the payment is successful, you will be redirected to the process payment page with the detailed invoice as the image below:
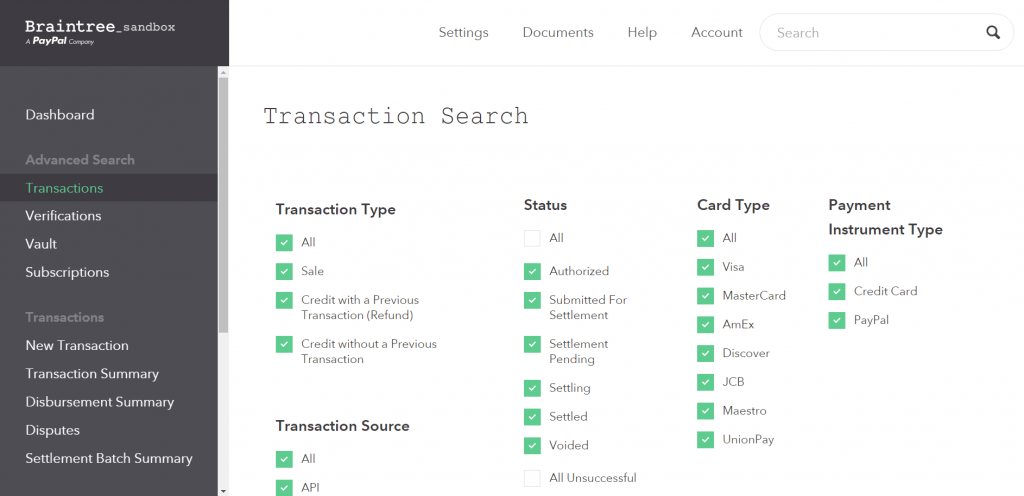
***Note*** In order to view reports and track your transaction, please go to Braintree Dashboard. All information are stored here, so you can easily get the transaction insights.
For further detailed information about FrE Braintree, kindly read our blog post at FrE Braintree – A payment platform for businesses across the globe
Enjoy 20% Off To Start Your Business Today!
To celebrate the launch of our new extension – FrE Braintree, we would like to give you an exclusive offer.
Use coupon code BRAINTREE at checkout to save 20% for FrE Braintree and FreelanceEngine products (themes & packages). This promotion is valid until Feb 24, 2017.
Check out now to grab the best deal!!
We hope this new extension will help you and your users on your site feel more convenient and secure on each transaction. If you have any further questions, please contact us via support@enginethemes.com. We’re happy to answer you!

Are you going to integrate this payment system with MicrojobEngine?
Hi,
MicrojobEngine has an entire roadmap for 2017, in which you can see what we’re up to and vote for your needed features. Please have a look at MjE roadmap for more details.