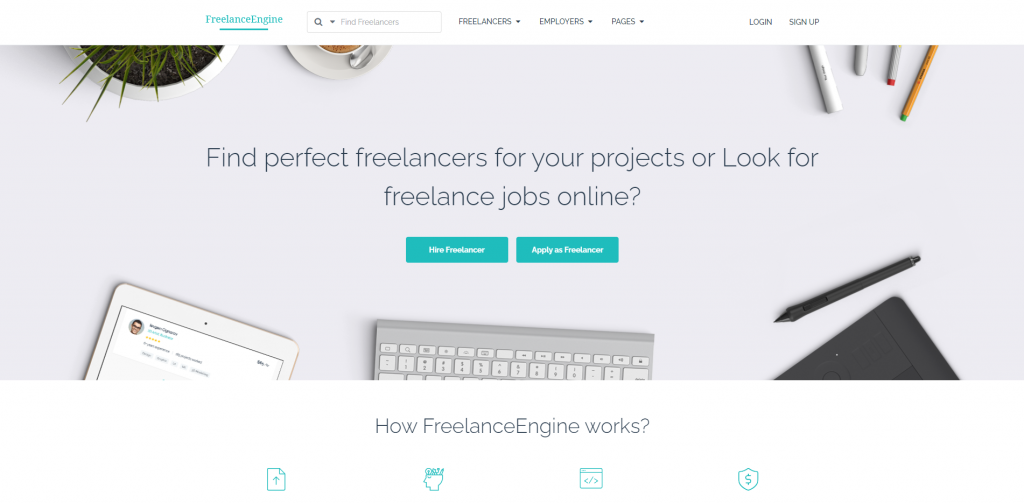
FreelanceEngine is a powerful WordPress theme designed specifically for creating freelance marketplaces or job boards. It’s an ideal solution for anyone who wants to build a platform where freelancers can offer their services and businesses can find the talent they need.
With FreelanceEngine, you can easily create a professional and user-friendly platform that includes features such as job posting and bidding, user profiles and ratings, project management tools, and secure payment options. These features make it easy for freelancers and clients to connect, collaborate, and complete projects successfully.

Step 1: Purchase FreelanceEngine
The first step to installing FreelanceEngine is to purchase a license from EngineThemes, the developer of the theme. You can choose from several pricing options, depending on your needs and budget. Once you’ve made your purchase, you’ll receive a download link and license key.
Step 2: Download FreelanceEngine
Next, you’ll need to download the FreelanceEngine theme file from the download link you received after purchasing the license. The file will be a zip archive that contains all the necessary files for the theme.
Step 3: Install FreelanceEngine
To install FreelanceEngine, log in to your WordPress dashboard and navigate to Appearance > Themes. Click on the “Add New” button at the top of the page, then click on the “Upload Theme” button. Select the FreelanceEngine zip file you downloaded in Step 2 and click the “Install Now” button.
WordPress will then upload and install the theme for you. Once the installation is complete, click the “Activate” button to activate FreelanceEngine on your site.
Step 4: Configure FreelanceEngine
Now that you’ve installed FreelanceEngine, you’ll need to configure it to suit your needs. The theme comes with a range of customization options, so you can adjust the layout, colors, fonts, and other design elements to create a platform that reflects your brand.
You’ll also need to set up the various features and functionality of the theme, such as job posting and bidding, user profiles and ratings, project management tools, and payment options. FreelanceEngine includes detailed documentation and tutorials to help you get started with these features.
Step 5: Launch Your Freelance Marketplace
Once you’ve configured FreelanceEngine to your liking, it’s time to launch your freelance marketplace or job board. Start promoting your platform to attract freelancers and clients, and encourage them to sign up and start collaborating.
In summary, installing FreelanceEngine on your site is a straightforward process that involves purchasing a license, downloading the theme file, uploading and installing it on your WordPress site, and configuring it to your needs. With its range of powerful features and customization options, FreelanceEngine is a great choice for anyone looking to create a professional and user-friendly freelance marketplace or job board.

