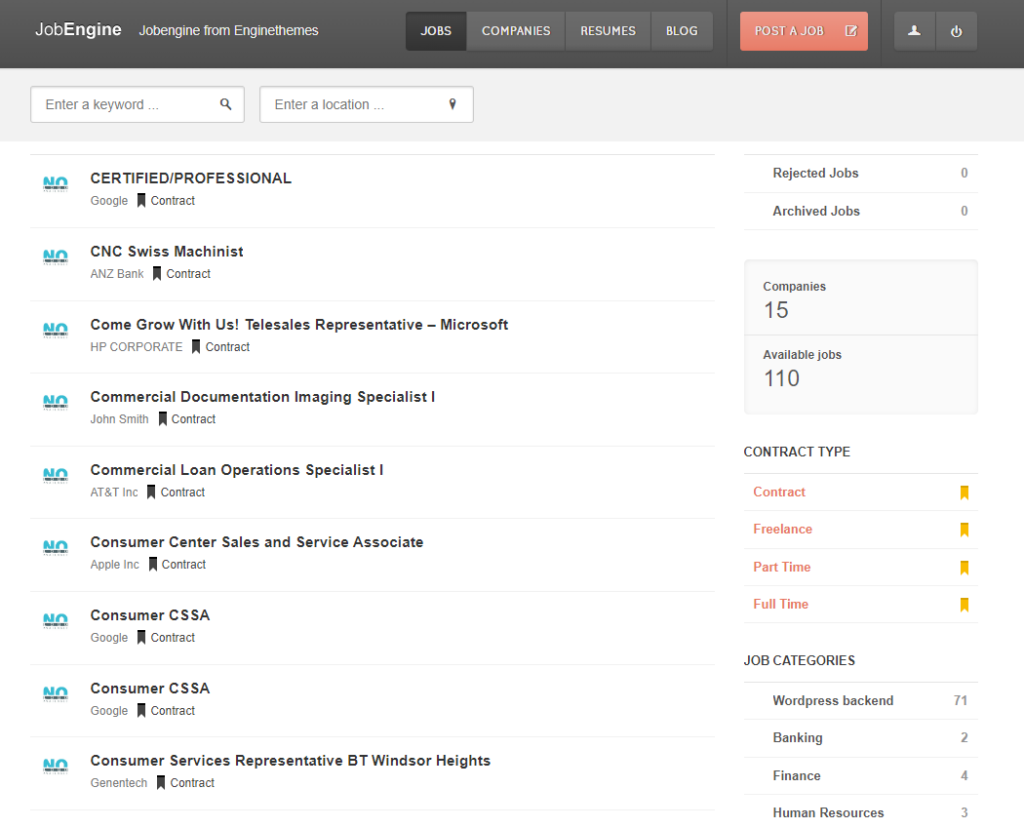
JobEngine is a powerful WordPress theme that enables you to create a professional job board website. With its comprehensive features and user-friendly interface, JobEngine makes it easy for employers to post job listings and for job seekers to find and apply for their dream jobs. In this guide, we will walk you through the process of installing JobEngine on your site, so you can start building your own thriving job portal.

Step 1: Purchase and Download JobEngine
To get started, visit the official JobEngine website and purchase the theme. After completing the purchase, you will receive a download link or access to a customer portal where you can download the theme files. Save the JobEngine theme package to your computer.
Step 2: Access Your WordPress Admin Panel
Log in to your WordPress admin panel by entering your username and password. This will take you to the WordPress dashboard, where you can manage your website’s content, themes, and plugins.
Step 3: Navigate to the Theme Installation Page
In the WordPress dashboard, go to “Appearance” and then click on “Themes.” This will take you to the theme management page, where you can install and activate WordPress themes.
Step 4: Upload the JobEngine Theme Package
On the theme management page, click on the “Add New” button at the top of the screen. Next, click on the “Upload Theme” button. Choose the JobEngine theme package file (zip format) that you downloaded earlier from your computer, and click on the “Install Now” button.
Step 5: Activate JobEngine
Once the theme has finished uploading, click on the “Activate” button to activate the JobEngine theme on your WordPress site. The theme will now be active and ready to use.
Step 6: Configure JobEngine Settings
After activating JobEngine, you will be prompted to install the required plugins and import demo content. Follow the on-screen instructions to complete the installation and setup process. This may involve installing plugins such as JobEngine Core and JobEngine Application.
Step 7: Customize the JobEngine Theme
To personalize the appearance and functionality of your job board, navigate to “Appearance” and click on “Customize.” This will open the WordPress customizer, where you can modify various aspects of the JobEngine theme, including colors, typography, layout, and more. Take your time to customize the theme according to your branding and design preferences.
Step 8: Add Job Listings and Manage Applications
With JobEngine installed and customized, you can start adding job listings to your website. In the WordPress dashboard, go to “Job Listings” and click on “Add New” to create a new job listing. Fill in the relevant details such as job title, description, requirements, and application instructions. Save or publish the listing when you’re done.
To manage applications, navigate to “Job Applications” in the WordPress dashboard. Here, you can review and respond to job applications submitted by job seekers through your website.

