CE Custom Fields has 3 main parts: Fields, Taxonomies, Seller Fields. I will show you step by step how to translate each part.
Fields
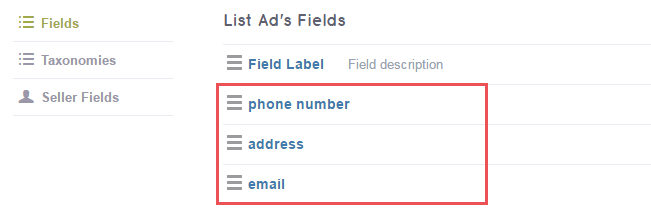
- Create fields in back-end (Engine Settings → CE Fields → Fields). In this example, I’m gonna add 3 fields: phone number, address, and email.
 Details (Pay attention to the Field Name cause they will be used in the next step):
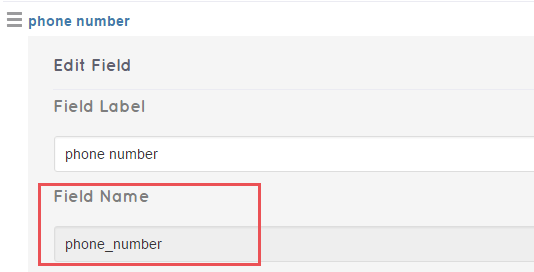
Phone number
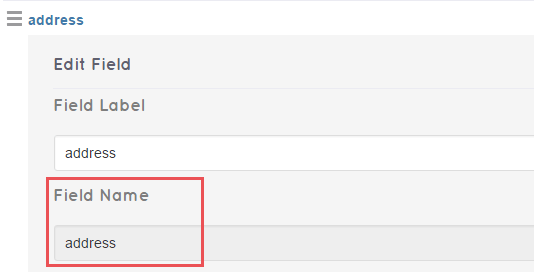
Address

- Open the file wpml-config.xml in Theme folder.
- Scroll to the the part “<admin-texts>” and insert the code.
For every single field created in step 1, you will insert the code following this format:
<key name=“ce_fields”>
    <key name=“field_name”>
           <key name=“field_label” />
           <key name=“field_pholder” />
           <key name=“field_des” />
    </key>
</key>
So, with 3 field names: phone number, address, email, the code would be like:
<key name=“ce_fields”>
    <key name=“phone_number”>
           <key name=“field_label” />
           <key name=“field_pholder” />
           <key name=“field_des” />
    </key>
    <key name=“address”>
           <key name=“field_label” />
           <key name=“field_pholder” />
           <key name=“field_des” />
    </key>
    <key name=“email”>
           <key name=“field_label” />
           <key name=“field_pholder” />
           <key name=“field_des” />
    </key>
</key>
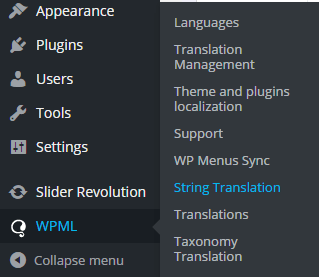
- Open String Translation in Dashboard and translate the above 3 fields.
Taxonomies
- Create taxonomies in back-end (Engine Settings → CE Fields → Taxonomy), like this:

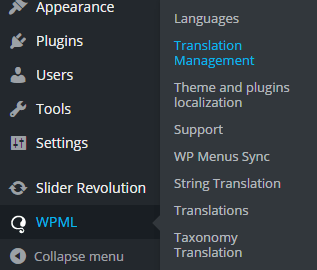
- Open Translation Management.
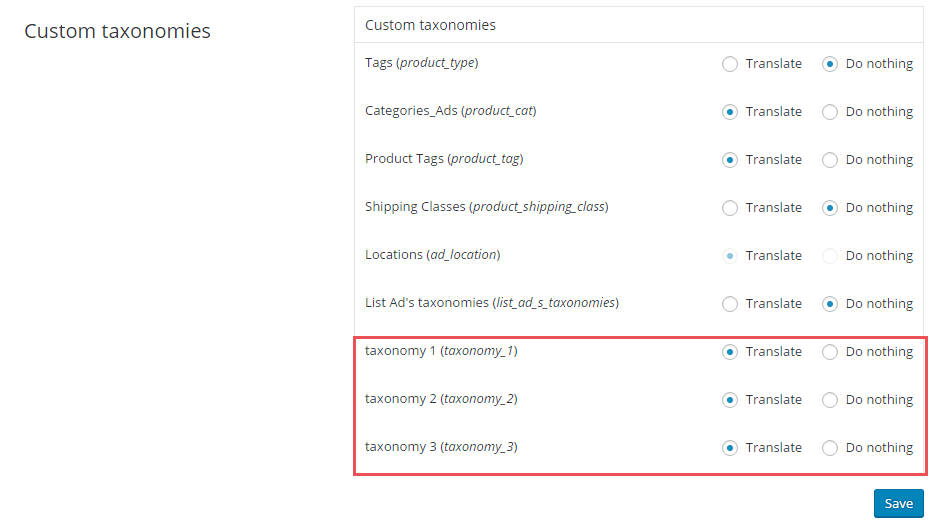
- Open the tab Multilingual Content Setup. Then scroll down till you see Custom taxonomies. Tick Translate for the taxonomies you want to translate and hit Save.
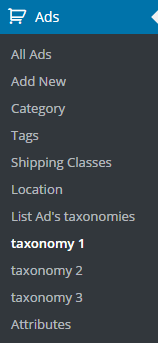
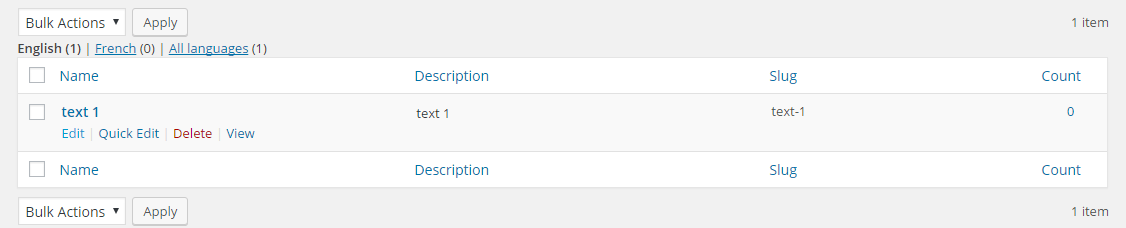
- Open Ads, choose a taxonomy to do the translation. Taxonomy 1 is chosen, for instance:
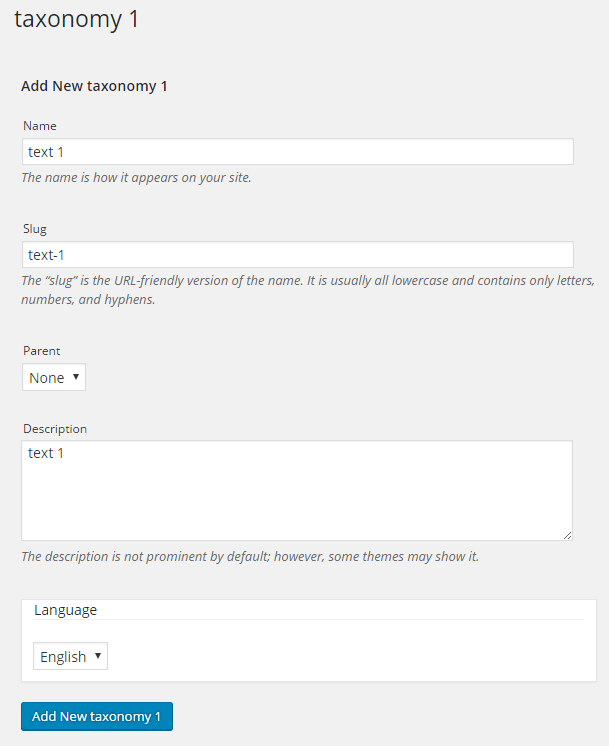
- Create a “text 1” taxonomy.
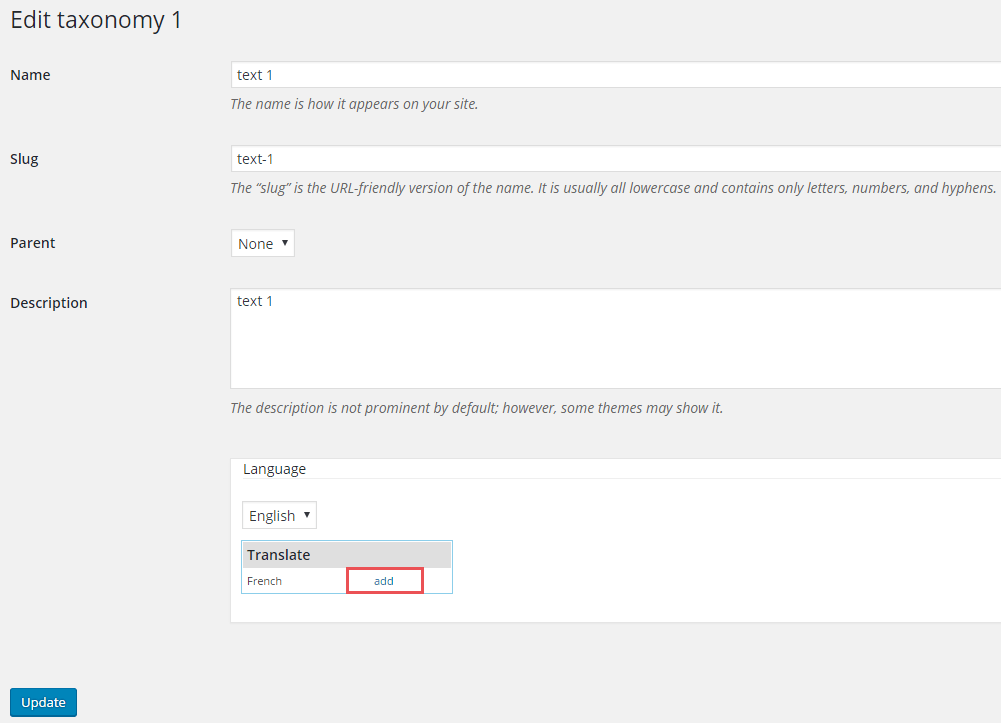
- Click Edit the “text 1” taxonomy.
- Click on add at the Translate box.
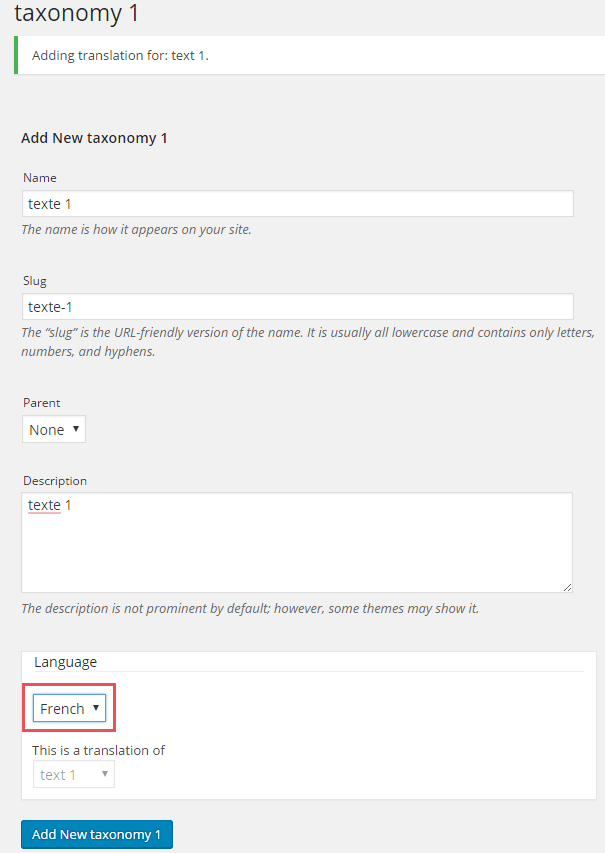
- Add the translation for “text 1” taxonomy. Finally hit Add New taxonomy 1.
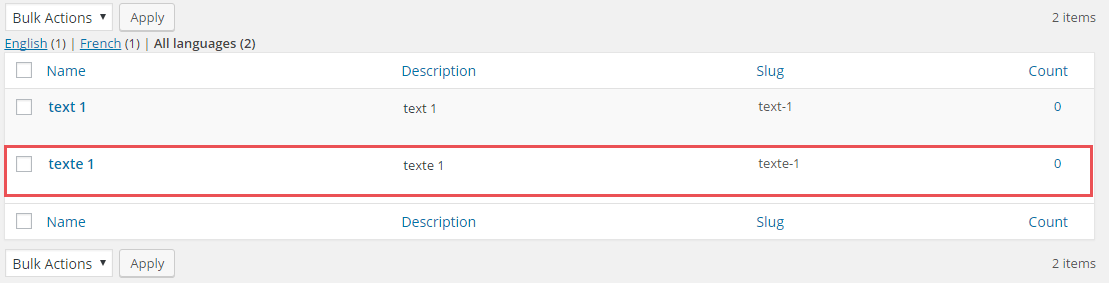
- And here is the result!
Seller Fields
All the steps are similar to those of Fields. The only difference lies in the mandatory value. Instead of ce_fields, you will add ce_field_seller to the code.
I have 3 seller fields: gender, city, phone number.
- Create seller fields in Engine Settings → CE Fields → Seller Fields.
- Open the file wpml-config.xml in Theme folder.
- Scroll to the the part “<admin-texts>” and insert this code:
<key name=“ce_field_seller”>
    <key name=“gender”>
           <key name=“field_label” />
           <key name=“field_pholder” />
           <key name=“field_des” />
    </key>
    <key name=“city”>
           <key name=“field_label” />
           <key name=“field_pholder” />
           <key name=“field_des” />
    </key>
    <key name=“phone_number”>
           <key name=“field_label” />
           <key name=“field_pholder” />
           <key name=“field_des” />
    </key>
</key>
- Open String Translation in Dashboard and translate seller fields.
SPECIAL REMINDER for Seller Fields
What if the field type of your Seller Fields is Checkbox, or Radio, or Dropdown?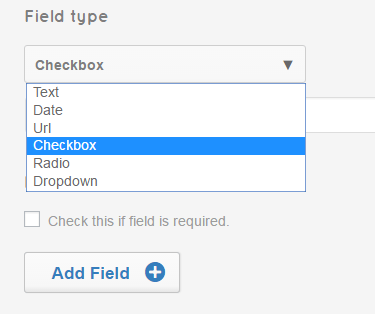
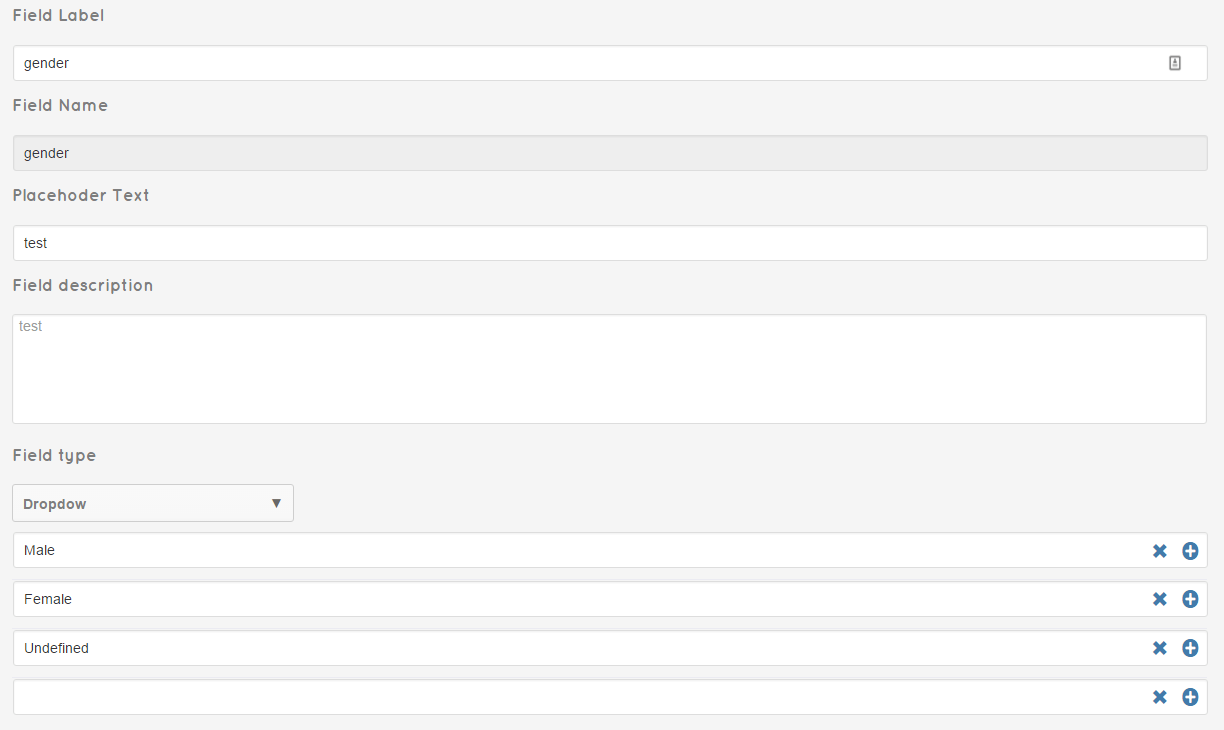
Take the old example with 3 seller fields: gender, city, phone number.
- Gender: I choose Dropdown as its field type.
- City: Field type is Checkbox.

With a seller field that has the field type of Checkbox, Radio, or Dropdown, the code inserted is:
<key name=“ce_sf_field_name”>
    <key name=“*”>
</key>
Therefore, with gender (dropdown), city (checkbox), phone number (text), the code is modified as below:
<key name=“ce_sf_gender”>
    <key name=“*”>
</key>
<key name=“ce_sf_city”>
    <key name=“*”>
</key>
<key name=“ce_field_seller”>
    <key name=“phone_number”>
           <key name=“field_label” />
           <key name=“field_pholder” />
           <key name=“field_des” />
    </key>
</key>
I hope this tutorial is detailed enough to help you translate CE Custom Fields to multi languages in WPML. If there’s anything unclear, just shoot a comment below and I’ll be happy to help!
