
The backup process is one of the most important aspects of data management. It helps you protect your website in case of disaster and avoid the possibility of losing the entire data. Thus, in this tutorial, we will guide you how to backup databases in your WordPress site step by step. Then, we will provide you with steps to restore your website to the previously backed up version.
***Note***
Currently, there are many plugins supporting you to backup database. No matter plugin you use, all basic principles of them share the same logic. But, we strongly recommend you to use BackWPup (FREE) and BackupBuddy (it is one of the best premium backup plugins, but its pricing plan seems expensive).
Part I. Backups Explained
Before implementing the backup process your WordPress site, you should pay your attention to two following concepts:
- The Database: it is where your content is stored.
- The Files: it makes up our WordPress site.
In fact, WordPress database contains all content created on your site, including posts, comments, inquiries, etc. If your database gets erased or corrupted, you will face the risk of losing the entire content, whether it is the content that you wrote 3 years ago. All of them will be cleared if you haven’t backed up your site before. There are many reasons for this worse situation that we cannot control, but the only thing that you should do is backup your data regularly.
The file contains all contents making up your WordPress site, including theme, plugin, all media files (video, image, document, etc.) uploaded to your site (it’s located in Media section). There is no worse than that a hacker somehow intervenes or logins to your site or FTP and deletes all files, especially these files involved in finance and transactions occurred on your site.
Thus, backup your site is really an essential and basic process. It will help you restore the previous version if there are any worse problems.
When are backups necessary?
- If a WordPress/plugin/theme upgrade causes a conflict and breaks your website.
- If your website gets hacked and your database or files get corrupted.
- If your hosting account gets hacked and your files and databases are compromised.
- If you decide to move hosting companies.
Part II. Taking the backup
The easiest way to implement the backup process is using the plugin. Thus, we will guide you backup your site based on using BackWPup plugin:
Step 1: Install and activate BackWPup plugin.
- You can download the plugin at https://wordpress.org/plugins/backwpup/.
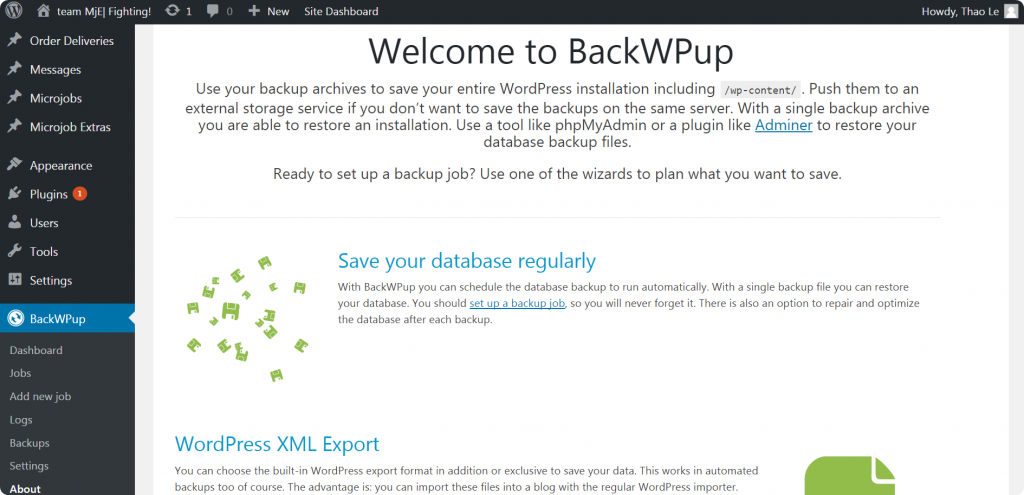
- After activation, the plugin will display in your WordPress admin sidebar.
Step 2: Creating Backup Jobs with BackWPup
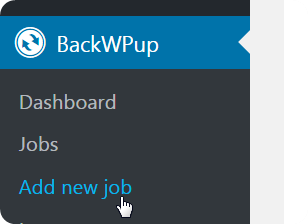
- Click on Add new job to create an automated backup job for your WordPress website.
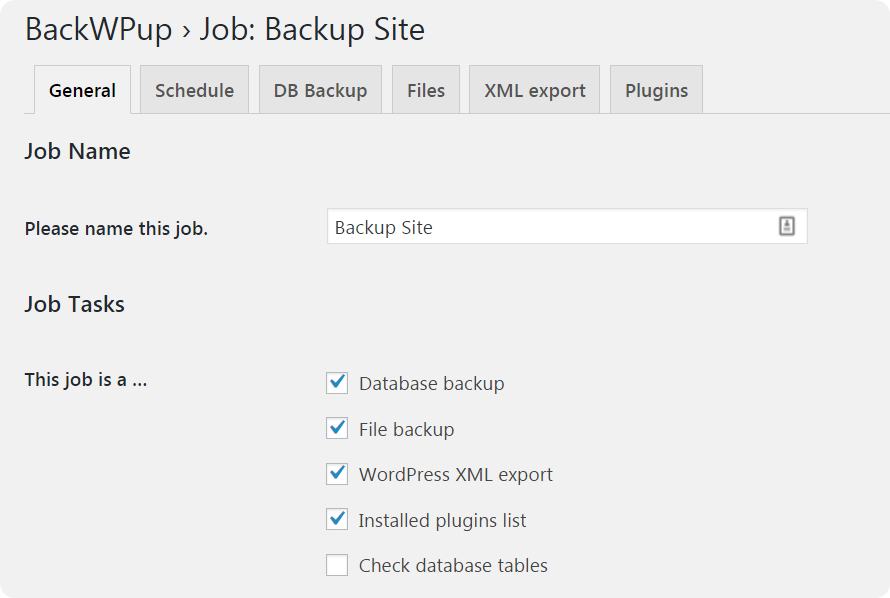
- Under General tab, provide a name for this job helping you identify each backup instance. Then, select the type of tasks under Job Tasks section. If you want to create backup of your site, you should select all options except for check database tables.
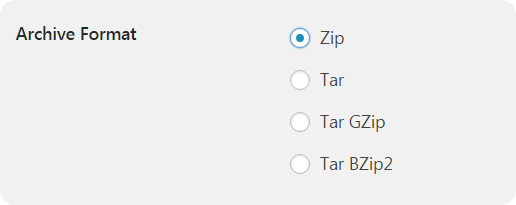
- Under Backup File Creation section, choose an archive type. The default option is Tar Gzip, but you can choose any format if you want.
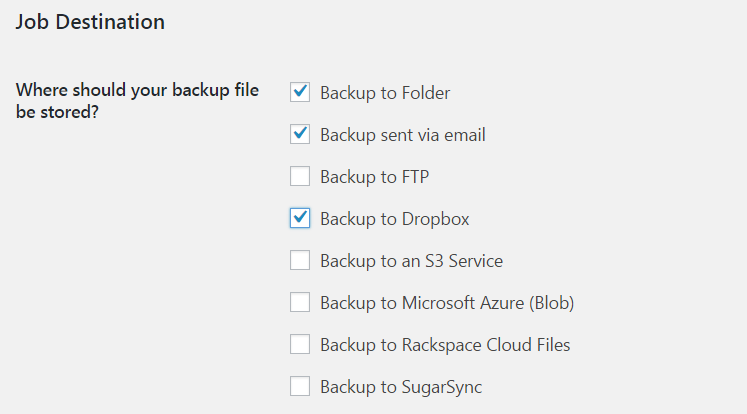
- Under Job Destination section, select options where your backup file should be stored. BackWPup provides you with multiple options to store your backup files.
Step 3: Scheduling Automated Backup
Click on Schedule tab and choose how often do you want to backup your site. For beginners users, we highly recommend you to select WordPress Cron option to schedule a daily or weekly backup.

Step 4: Settings for database backup
- Click on DB Backup tab to select which tables to backup, backup file name, and backup file compression.
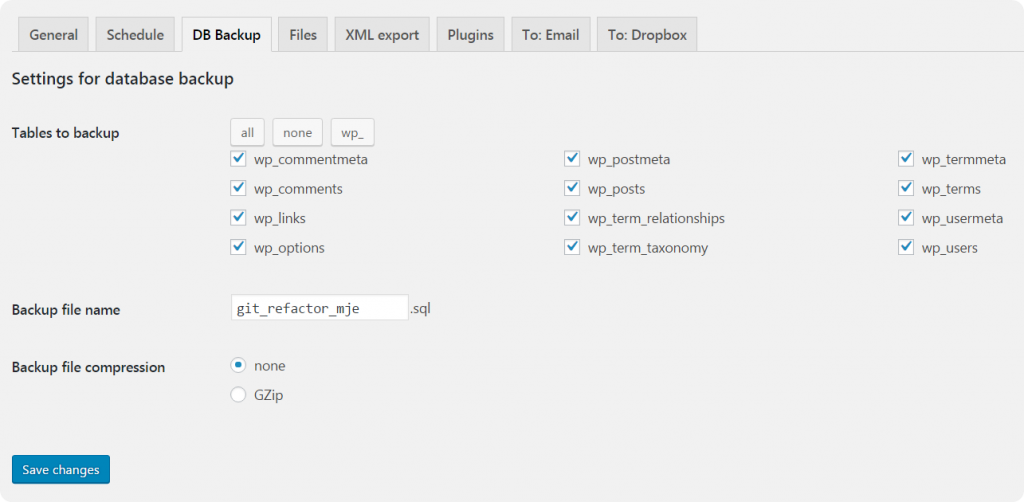
- Don’t forget click Save to complete.
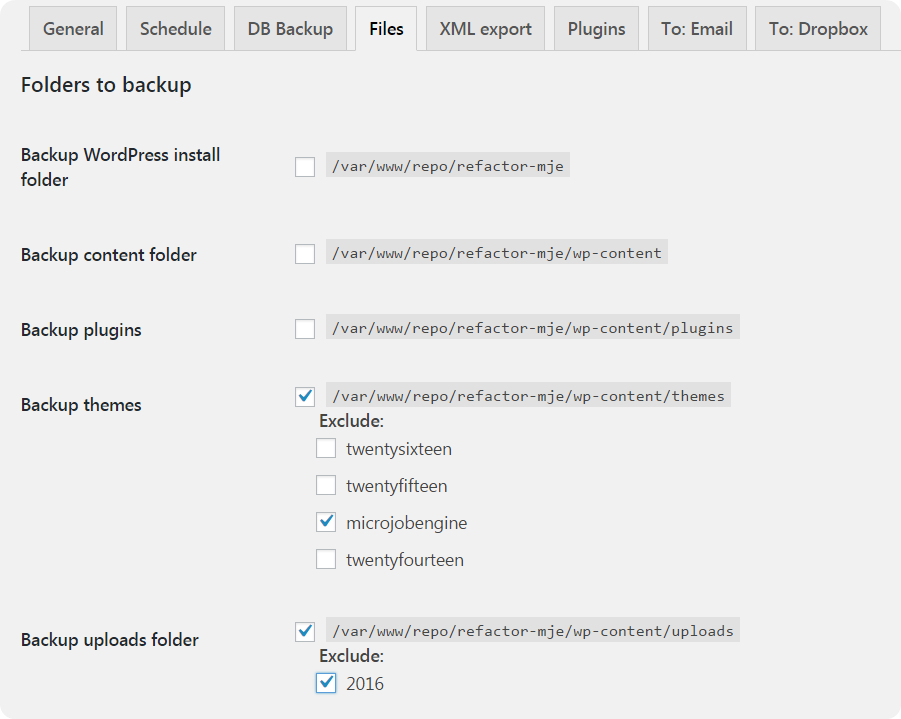
Step 5: Select folder to backup
Click Files tab to select what folders you want to backup. We would recommend that you should only backup your wp-content/uploads folder instead of backup core WordPress files.
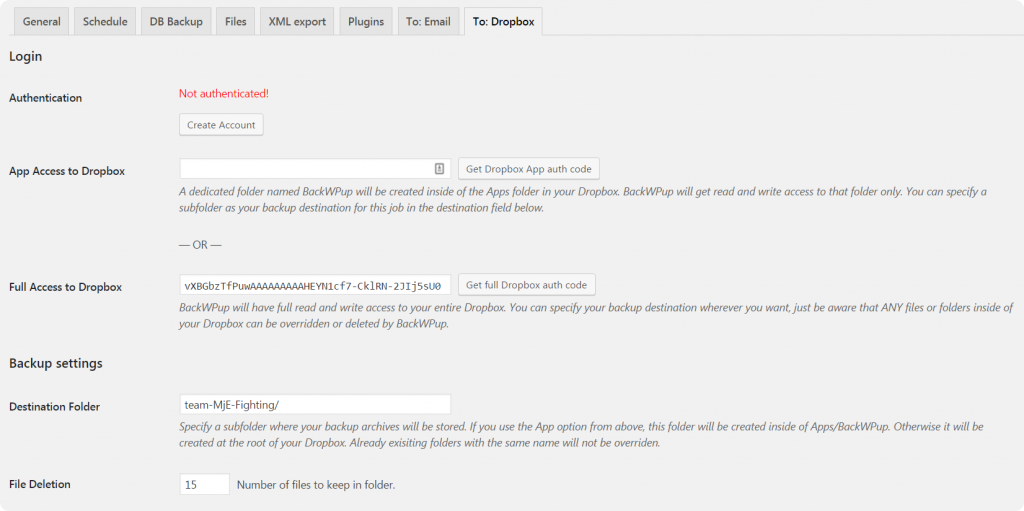
Step 6: Saving WordPress Backups To Dropbox
- If you choose Dropbox as the Job Destination in step 2, you will see the Dropbox tab. From this tab, you should enter the auth code into BackWPup to store the backup file to your Dropbox account.
- Click Get full Dropbox auth code button to get the code if you haven’t had this code before.
When should you take a backup?
- Once your website is at a stage where you are happy with it.
- After you perform an update that you don’t want to lose.
- Before you update WordPress.
- Before installing or updating any plugin or theme.
- If moving to another hosting company.
Part III. Restore the Database from Backup
Below are all required steps helping you to restore the database in case your site is hacked.
***IMPORTANT*** You can ONLY restore the database after implementing backup your site.
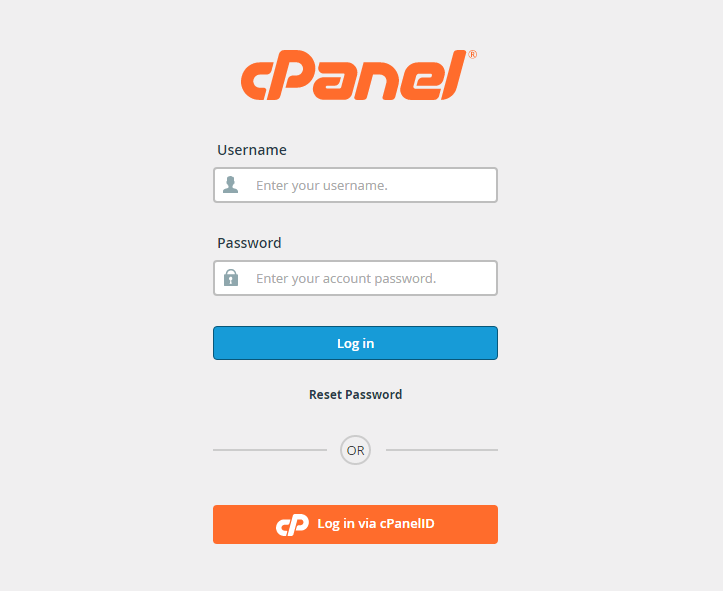
Step 1: Login to cPanel.
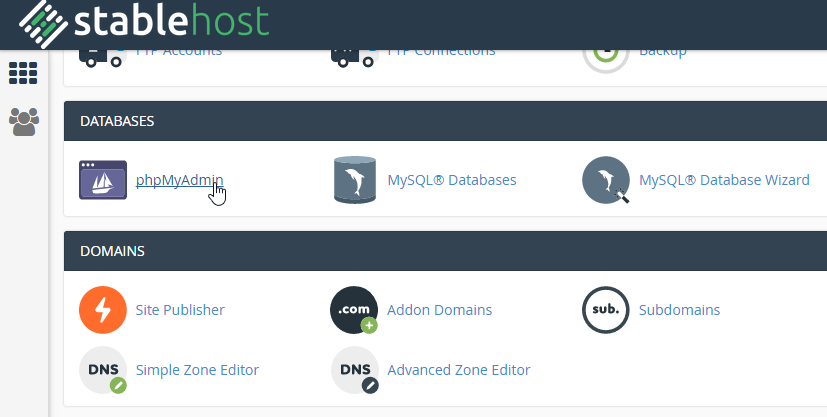
Step 2: Go to PHPMyAdmin. It is located in the databases section.
Step 3: Choose the corresponding tab that you will be importing your data into.
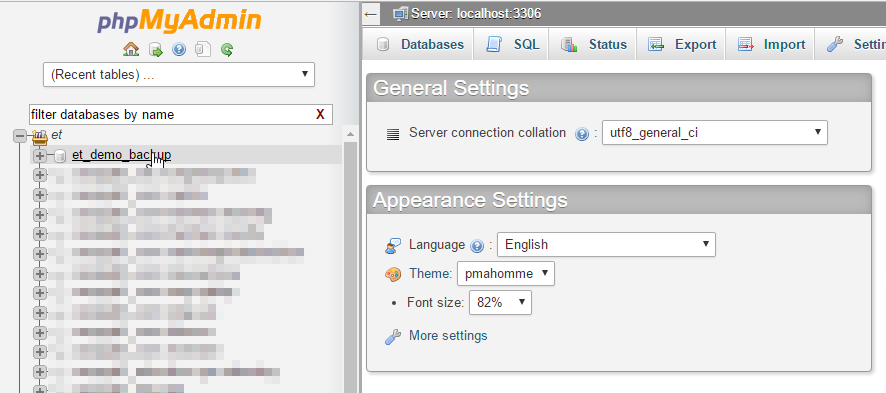
Step 4: Drop (delete) the database that you’ve chosen.

***Note*** All must select and drop all database (database contains a lot of tables).
Step 5: Check that you can able to access to your website or not.
Step 6: Find the backup files that you’ve implemented in Part II.
Step 7: Importing backup file into PHPMyAdmin by click on Import tab.
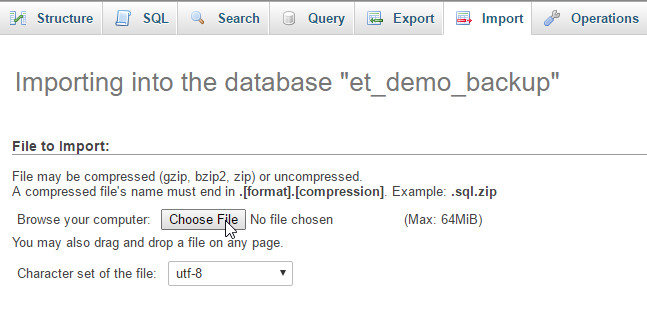
Click on “Choose File” to import database
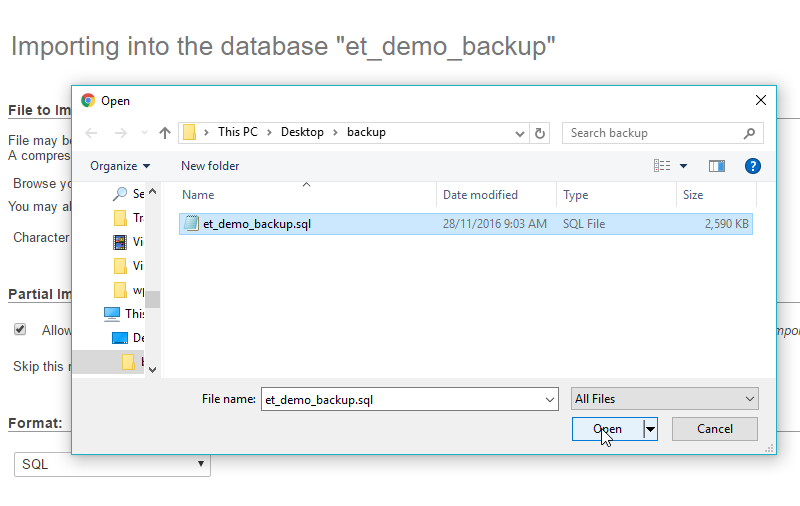
Choose the backup database you want to import
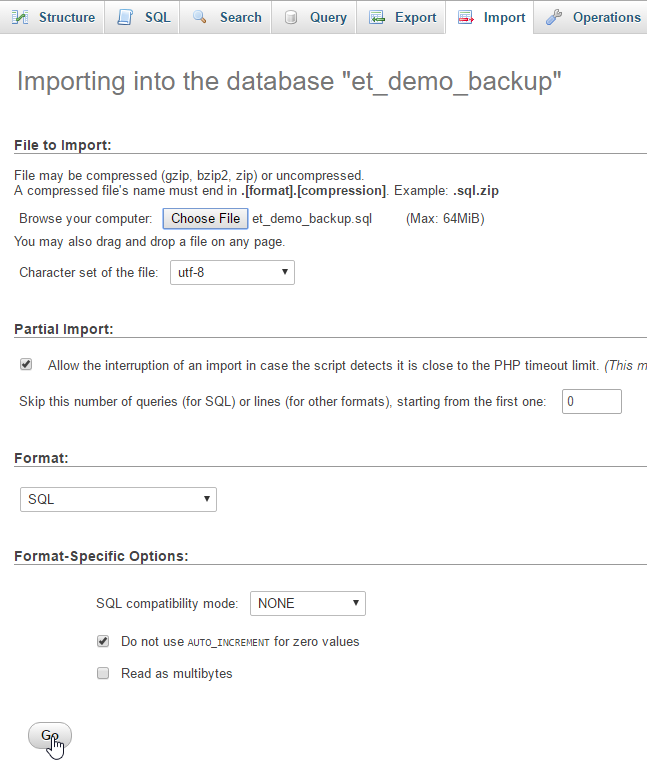
Click on “Go” to run the backup file
Step 8: Access to your website again to check this database run or not.
The above steps are just a particular instance for cPanel. The most important thing of this tutorial is that it will help you prepare for the worst possible situation. In that case, you can restore the database yourself.
Part IV. Restore the Files
One of the most common types of website attacks involved in files is that hacker can insert a malicious code into files with popular formats such as .jpeg. Normally, when users or visitors take whatever actions on this site, they will unintentionally activate and help the viral infection spread out.
In most situations, when your website meets this kind of problem, the host providers will automatically email to notify you. Some host providers will also automatically shut down your site as soon as your site is attacked, so you should contact them to log into your site again.
Besides, you need to delete all file inserted the malicious code and restore them if you encounter this case (your files get damaged and corrupted). BUT, you have to backup database in advance before carrying out the restore process.
***Note*** The steps described below may differ from the folder structure that you customized.
Step 1:
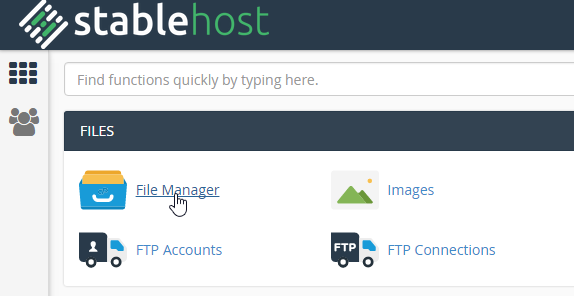
- Log into your cPanel (You can use other tools such as FTP client if your host doesn’t use cPanel).
- On the cPanel scroll to the File Management. It is located in the files section.
Step 2: Compress file.
- Go to public_mtml folder to access your web root directory.
- Choose “…wp-content” folder and click on Compress. You should choose “…wp-content” folder since this folder contains all information files such as plugin, theme, media, etc. Also, other folders can be easily downloaded even when your site broken or lost database apart from “…wp-content” folder.
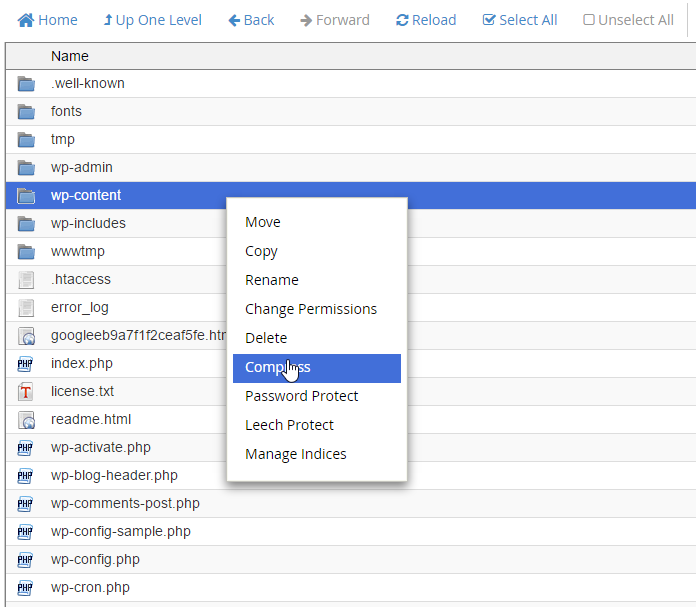
- Select the compression type you want to compress. Then, click on “Compress Files(s)”.

Step 3: Download the file that you’ve compressed to your computer. Please note that you should choose the format “site_name_date_backup_zip” for naming your files. “enginetheme_com_2016_12_13.zip” for instance.
Step 4: Remove files and folders in the “…wp-content” folder.
Please note that you will see the warning that your files and databases will be overwritten before you conduct the restore process. “Restoring files or databases from a backup will overwrite the files or databases currently on your account” is an example being warned by Bluehost.
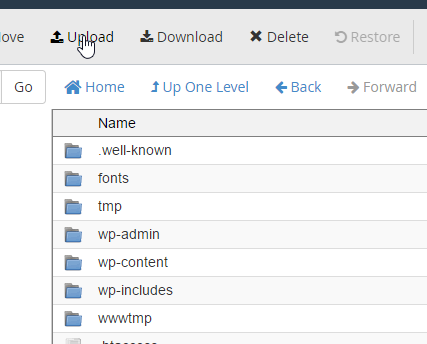
Step 5: Upload the backup file to carry out the restore process.
- Click on “Upload” to upload the file you’ve compressed in step 2.
- Select the file you want to upload from your computer.
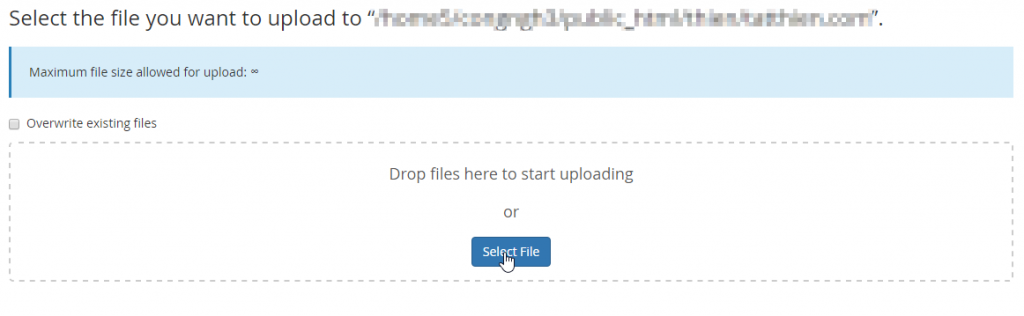
Click “Select File” button to upload file
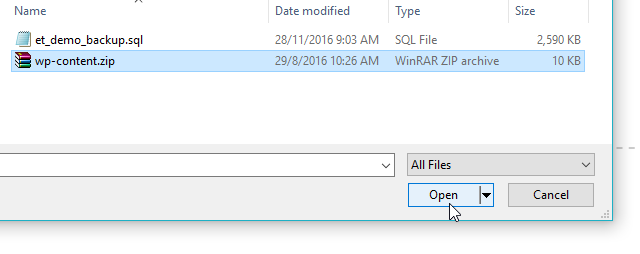
Select file you want to upload & click “Open”
Step 6: Extract file you’ve uploaded.

That’s finished.
Part V. Lesson Summary
ALWAYS run a backup! You should backup your site database whenever you change its design & content to avoid losing all files and data when the nasty happens. There are two things you need to do, including database and files. But DATABASE backup is the most important process since it’s the most difficult element to restore in case your site was lost.
You should restore your site by using the management area provided by the host, cPanel for example. Also, you should use the premium backup plugin to backup your site database if possible.
***Note*** This tutorial is the most important tutorial of EngineThemes. So, you should read carefully and step – by – step practice to create full backups of your WordPress site and carry out restoring database & files to avoid unwanted stress.
For further help, please feel free to contact us via support@enginethemes.com.
